| SUSE LINUX – User Guide Chapter 10. Scheduling with KOrganizer / 10.3. Using the Calendar | ||||
|---|---|---|---|---|
 | 10.2. Configuring KOrganizer | 10.4. Printing |  | |
| SUSE LINUX – User Guide Chapter 10. Scheduling with KOrganizer / 10.3. Using the Calendar | ||||
|---|---|---|---|---|
| 10.2. Configuring KOrganizer | 10.4. Printing | | |
The calendar of KOrganizer can be displayed in a number of different views to show a certain month, day, week, or work week. There is also a view of the next three days. Details of these views can be configured with + under the item. Switch between the different views with the menu or by clicking the corresponding button in the toolbar.
Existing event items can easily be modified with the mouse. One possibility is to change the start and end date or time by clicking the item's upper or lower edge then dragging it to the desired position. In the day, week, and work week view, directly move an item to another time by clicking it then dragging it to the new position. You can also move events outside the time of the current view. For instance, an item can be dragged to the date navigator to the left. Even drag an item to the date navigator of another KOrganizer window.
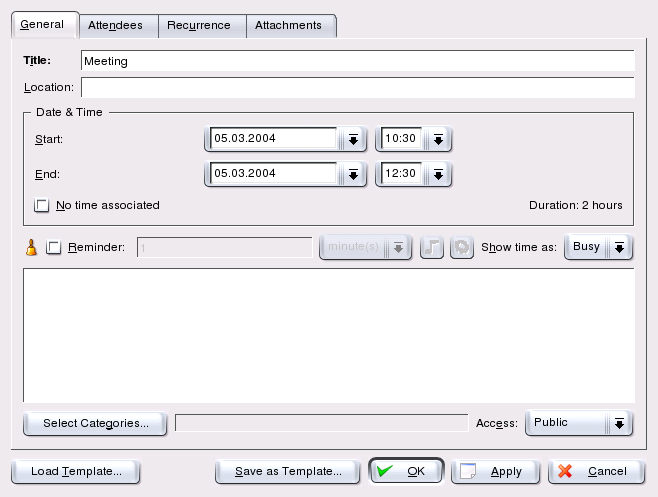
To schedule a new event, select +. Enter the desired details. Under , specify the exact time (minutes, hours, or days in advance) at which the attendees should be reminded of the event. If an event recurs, specify the interval. Another way to create an event at a specific point in the calendar is to double-click the corresponding field in one of the program's calendar views. This opens the same dialog window as that available from the menu.
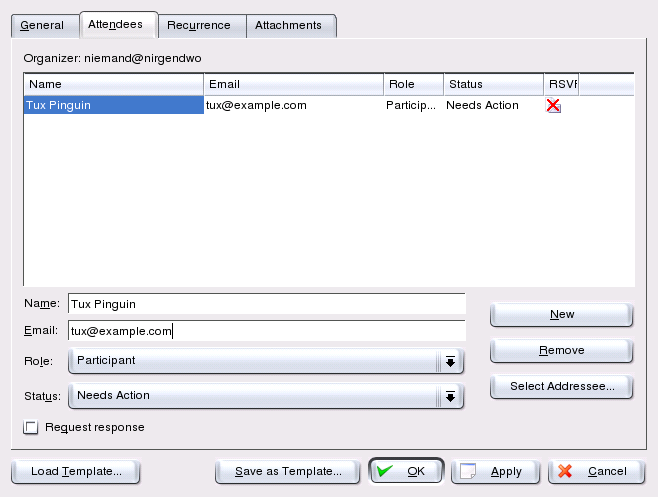
Specify the attendees of an event by entering their data manually in the dialog or by inserting data from the address book. To enter such data manually, select . To import data from the address book, select then the corresponding entry from the dialog.
Participants for a schedule item are listed under in the item view. Sort the attendee list by clicking the column header of the value by which to sort.To add an attendee for an item, click . Then enter the name in and the e-mail address in the field below. Use to query the address book and select entries from it. In , define the function of an attendee (observer, chair, participant), which can also be used to sort the list of attendees later. With , assign a status to an attendee, such as needs action, accepted, or completed. Change the status of an attendee at any time by selecting the attendee in the list then choosing another status from the drop-down list. If you check , the attendees receive an e-mail with the relevant schedule item.
Create a new to-do item by selecting +. In the dialog that opens, specify the exact start and due date and time for the new task, its progress in percent, and its priority. If other people are involved, specify their details under . The created to-do item is then automatically included in the left list under . The column in this list shows the description. shows the value selected.
To manage your schedule, group events and to-dos according to certain categories. Assign the scheduling items to one or several categories, for instance, if one of your items is related to job training, you could assign it to both and . Categories can be assigned in the dialogs for the creation of new events and to-dos after selecting . Create additional categories with .