Chapter 1. First Contact / 1.3. Desktop | ||||
|---|---|---|---|---|
 | 1.2. The User Concept of Linux | 1.4. File Management |  | |
Chapter 1. First Contact / 1.3. Desktop | ||||
|---|---|---|---|---|
| 1.2. The User Concept of Linux | 1.4. File Management | | |
SUSE LINUX offers several choices for your desktop. GNOME and KDE, the most common desktops, provide features and functions similar to those of the desktop used in Microsoft Windows or Mac OS. This section introduces their most important features and helps you to get accustomed to your new desktop environment.
The following list introduces some terms often used in a desktop context, regardless of the base system. However, some of them have different meanings in different desktop environment or are even limited to one environment.
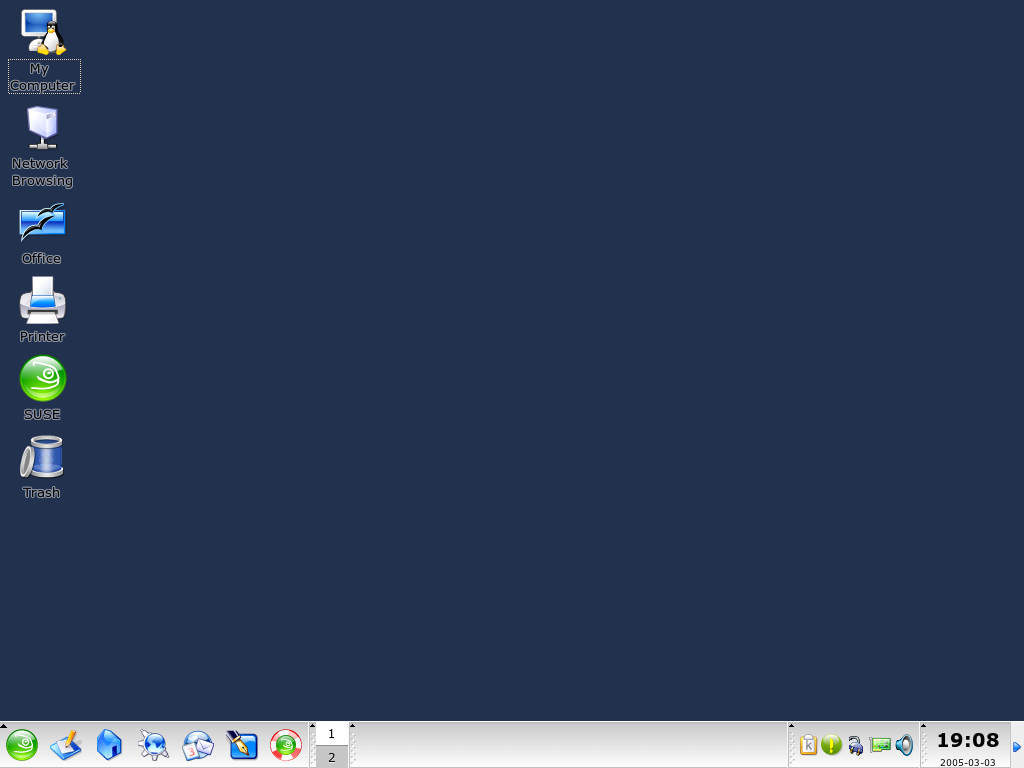
The desktop is your primary work environment. It fills the screen, but is more than just a background. Put icons of your most frequently used applications or objects on the desktop for easy access.
The panel is a bar, typically located at the top or the bottom of the screen, that holds the menus, the quick launch area, a notification area or system tray, some little helper applications, and, in most cases, also the taskbar (called window list in GNOME). It is designed to provide all vital information needed about running applications or the system and to provide easy access to some important functions or applications. Both GNOME and KDE allow you to adjust the panel orientation (horizontal versus vertical) to your needs. In a KDE environment, you might also see “Kicker” as another word for the panel.
Similar to the “start button” on the MS Windows desktop, Linux desktops normally contain a menu button at the left end of the panel that opens the main menu. This menu is a well-ordered structure for accessing the main applications or functions, such as “Search,” “Logout,” and “Lock Session.”
The taskbar (window list in GNOME) is used to switch between different open windows. In Linux, it also provides an overview of all virtual desktops available and provides a means to switch between them. The taskbar is part of the panel.
The quick launcher is part of the panel. It holds the icons for the most important functions or applications to enable you to start them without going through the applications menu.
The rightmost part of the panel holds the system clock, the volume control, and several other helper applications.
An applet is a small application that is integrated into the panel. An application is a fully fledged computer program using its own window on screen.
Desktop icons reside on the desktop. They represent files, directories, applications or functions, and removable media, like CDs or DVDs. The best known desktop icon is probably the trash bin, where you can drop files you want to delete.
The concept of virtual desktops (workspaces in GNOME) is like having several desks at your office. You store things on all of them, but you only work at one of them at a time. You can devote each to different tasks or just use them as extra space. Virtual desktops enable you to have multiple windows open at the same time, but only look at one or some of them. Easily shift windows between virtual desktops, like shifting papers from one physical desk to another. All desktop environments offer a means to control the number and use of virtual desktops. A workspace switcher is provided in both the GNOME and the KDE panel.
A terminal enables you to send commands to the operating system. There are “real” (physical) terminals basically consisting of a display screen and a keyboard connected to the computer. Then there are terminal emulations, which run in a window on your desktop and offer a prompt where you can pass commands to the operating system.
Once you log in to your desktop, it starts a session for you. This session is valid until you log out again. A session includes the start-up and shutdown of certain programs on login and logout. These settings can be configured individually for each user account.
Almost all desktop components can be configured individually. Right-clicking the respective element opens its context menu. To illustrate the procedure, we provide some examples.
![[Tip]](admon/tip.png) | Controlling the Desktop Configuration |
|---|---|
Both GNOME and KDE feature a Control Center providing central access to all key configuration options of the desktop environment. Refer to Chapter 3, The GNOME Desktop or Chapter 4, The KDE Desktop for details. | |
Procedure 1.1. Adding a New Application to the Quick Launch Area
Right-click an empty patch of the panel where you want to add the new application.
Choose from the menu that appears.
Select from the menu.
Select the application from the menu and quit the configuration.
Procedure 1.2. Changing the Desktop Background
Right-click the desktop.
Choose from the menu that appears.
A dialog window appears, offering several options concerning the desktop. Either use the mouse cursor to select one of the existing wallpapers or click to open a file dialog where you can add your own image. Use to determine how the image should be rendered to fit into the dimensions of your display. Use to remove a selected background from the menu. If you prefer no background image at all, set a desktop color.
Your changes are applied automatically. Leave the dialog with .
Procedure 1.3. Creating a New Desktop Icon
Add a new application or service icon (called “Launcher” in GNOME):
Right-click the desktop to open the context menu.
Select to open the appropriate dialog.
Enter , , an optional , and the to execute. Determine whether the application should be run in a terminal and check whether is set to the appropriate value, which is for commands.
Apply your settings and leave the dialog with .
Add a new folder or document:
Right-click the desktop to open the context menu.
Select or to add the new item to the desktop.
Right-click the new desktop icon and select .
Enter the name of the new object in the tab. Select an appropriate icon via the tab. Finally, determine the file system permissions assigned to this object using the tab. Read more on file system permissions in Section 19.2, “Users and Access Permissions”.
Close the dialog to apply your changes.
Procedure 1.4. Adding a New Application to the Quick Launch Area
Right-click an empty patch of the panel where you want to add the new application.
Choose + from the menu that appears.
Select the application from one of the categories of the submenu.
Procedure 1.5. Changing the Desktop Background
Right-click the desktop.
Choose . A dialog opens that allows the modification of the desktop settings , , , , and .
Choose and determine whether your settings should be applied to one specific desktop or to all. Select a background image, disable background images, or start a slide show. offers several settings for the positioning of the background image, the background color, and the blending of colored backgrounds.
Apply your changes and leave the dialog with .
Procedure 1.6. Creating a New Desktop Icon
Add a new folder icon:
Right-click the desktop to open the context menu.
Select +.
Enter the name of the new folder when prompted to do so.
Right-click the new icon and select in the context menu that appears.
The dialog consists of four tabs: , , , and . Name and icon of the folder are set via the tab. Permissions are modified via . lists size and number of items of the new folder. can be used to configure file sharing via NFS or Samba. For more information about these two protocols, refer to the Administration Guide.
Apply your changes and leave the dialog with .
Add a new file icon:
Right-click the desktop for the context menu to appear.
Select .
Choose the appropriate file type from , , , or .
Enter the name of the new file when prompted to do so.
Right-click the new icon and select in the context menu that appears.
The dialog consists of three tabs: , , and . Set the name and icon of the file in the tab. Change permissions in . lists line, word, and character count and the format of the new file.
Apply your changes and leave the dialog with .
Add a new device icon:
Right-click the desktop to open the context menu.
Select +.
Choose the appropriate device type to open the dialog.
The dialog consists of four tabs:
, ,
, and . Set the name and
icon of the device in the tab. Modify
permissions in .
is used to set the device path,
such as
/media/dvd for your DVD drive, and several other
options.
Apply your changes and leave the dialog with .
Both GNOME and KDE come with numerous little helper applications that can be included in your panel. If you want to add new ones or remove existing ones, proceed as described in Section 1.3.2, “Configuring Desktop Components”. The most prominent ones featured in both GNOME and KDE are SUSEWatcher and SUSE Hardware Tool.
SUSEWatcher is a program that is integrated into the system tray of the panel. It checks for new software updates. To be able to find any new updates, it requires an online connection. The status of SUSEWatcher is displayed in the panel by icons in different colors.
When you click the icon in the panel, a window opens, informing you about the status of your online updates and the availability of any new updates. You can also launch the check manually by clicking . Start the online update by selecting and entering the root password. The YaST Online Update window is displayed.
The SUSE Hardware Tool keeps a list of all hardware components of your
system. Left-click the panel icon to open a dialog window with a tree
view featuring the major hardware categories. Configure a new
hardware item by selecting it and clicking ,
which starts the appropriate YaST module after you
provide the root password.
Clicking reveals all information present
for the specific hardware item. As soon as new hardware is connected
and recognized, a pop-up announces this new
hardware.
Both GDM and KDM allow you to switch between different user accounts on the same system. You can stay logged in while other users work on your system. Your session is locked while you switch to another account, but your applications continue to run and your whole session remains unchanged.
To open an additional session for another user, select from the GNOME menu. The other user enters username and password in GDM then another GNOME session starts. Your original session is locked automatically on the user switch. To change back into your original session, use Ctrl-Alt-F7.
![[Important]](admon/important.png) | Switching Displays |
|---|---|
Your original session is started on the graphical console that can be reached with Ctrl-Alt-F7. Additional sessions are started on the higher consoles, reachable via F8 and higher. | |
Open an additional session in KDE via the main menu. Select and determine whether your original session should be locked while you switch to another user account. KDM appears, requesting username and password for the new account. Enter the requested data and a new KDE session starts. To switch back to your original session, click again. Select the session to which to switch.
Another way to start a new session is to lock your current session via then click in the unlock dialog. This goes to the KDM login screen, where username and password for the new session can be entered.