| SUSE LINUX – User Guide Chapter 7. Address Management with KAddressBook / 7.2. Creating a New Contact | ||||
|---|---|---|---|---|
 | Chapter 7. Address Management with KAddressBook | 7.3. Creating Address Lists |  | |
| SUSE LINUX – User Guide Chapter 7. Address Management with KAddressBook / 7.2. Creating a New Contact | ||||
|---|---|---|---|---|
| Chapter 7. Address Management with KAddressBook | 7.3. Creating Address Lists | | |
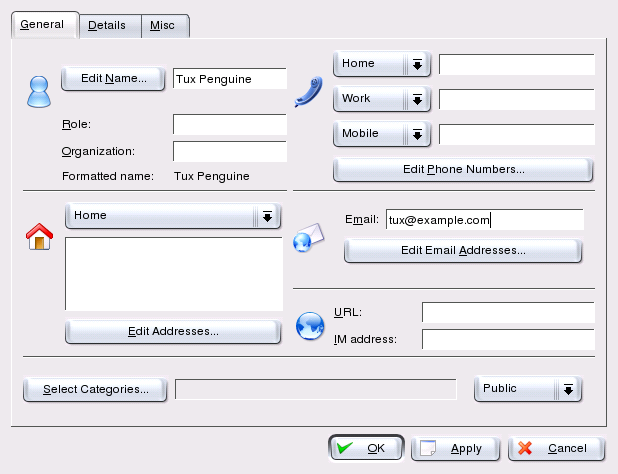
Open the contact editor with + (Ctrl-N) or by clicking on the respective icon in the toolbar. See Figure 7.2. “Entering New Contact Information”.
Enter all important information, including name, title, private and business addresses, all phone numbers, e-mail addresses, and URLs, under the tab. If desired, assign the contact to a category that can later be used for filtering the address view. Select a standard category (Family, Friend, Business, Customer, or School) or create a new category.
The tab allows you to enter some useful extra information, such as birthdays, anniversaries, and job-related data, and offers the possibility to add comments for this contact. Under the tab, you can add a picture or logo to the selected contact and specify the longitude and latitude of the contact's location.